

On this page
Should you learn how to cut a low taper fade at home?What tools do you need to cut a low taper fade at home?How do you prepare for a low taper fade at home?How to cut a low taper fade at home, step by stepWhat does a low taper fade at home look like at each step?What if a low taper fade at home looks patchy? A repair chartThe three clipper techniques for a low taper fade at homeHow to cut a low taper fade at home on different hair typesIs it cheaper to cut a low taper fade at home?What safety and hygiene steps matter for a low taper fade at home?How long does a low taper fade at home take?How do you keep a low taper fade at home tidy between cuts?How do you look after clippers and trimmers?Common mistakes with a low taper fade at homeFrequently asked questionsMore in this seriesQuick answer. To cut a low taper fade at home, start with clean, dry hair, mark the taper zone about 1 to 2 cm above the ear, run a #2 guard over the lower sides, step down to a #1 for the last centimetre above the ear and nape, blend each step with a flicking motion, then outline the sideburn, ear and neckline with a trimmer. Work slowly, check both sides in two mirrors, and always start longer than you think you need.
A low taper is the most forgiving fade to try on yourself. It removes little hair, it starts low, and a mistake grows out in a couple of weeks. Even so, cutting the back of your own head with a mirror is awkward, and most first attempts go wrong in the same few places. This guide on how to cut a low taper fade at home is written as a procedure: kit, preparation, the cut itself, and a repair chart for each mistake.
It is a cluster page under our low taper fade pillar. For general home cutting, with other styles and tools, see our broader guide on how to cut your own hair. This page covers only the taper.

Should you learn how to cut a low taper fade at home?
Home cutting suits men who have a steady hand, a little patience and a willingness to accept an imperfect result. It saves money and time over a year. It does not suit anyone with an important event this week, anyone who has never used clippers, or anyone who wants a skin-level or high-contrast result.
| Situation | Home cut? | Reason |
|---|---|---|
| First time with clippers | Try it, but start with a longer guard | Mistakes grow out, but they are visible |
| Important event within 2 weeks | Go to a barber | No room for repairs |
| Maintaining a barber’s cut between visits | Yes | The shape is already set |
| Wanting a skin fade or sharp lines | Barber | Needs a foil shaver and practice |
| Straight, fine hair | Cautious | Every line shows; see the straight hair guide |
| Curly or coily hair | Yes, with care | Curls hide small errors; see the curly hair guide |
What tools do you need to cut a low taper fade at home?
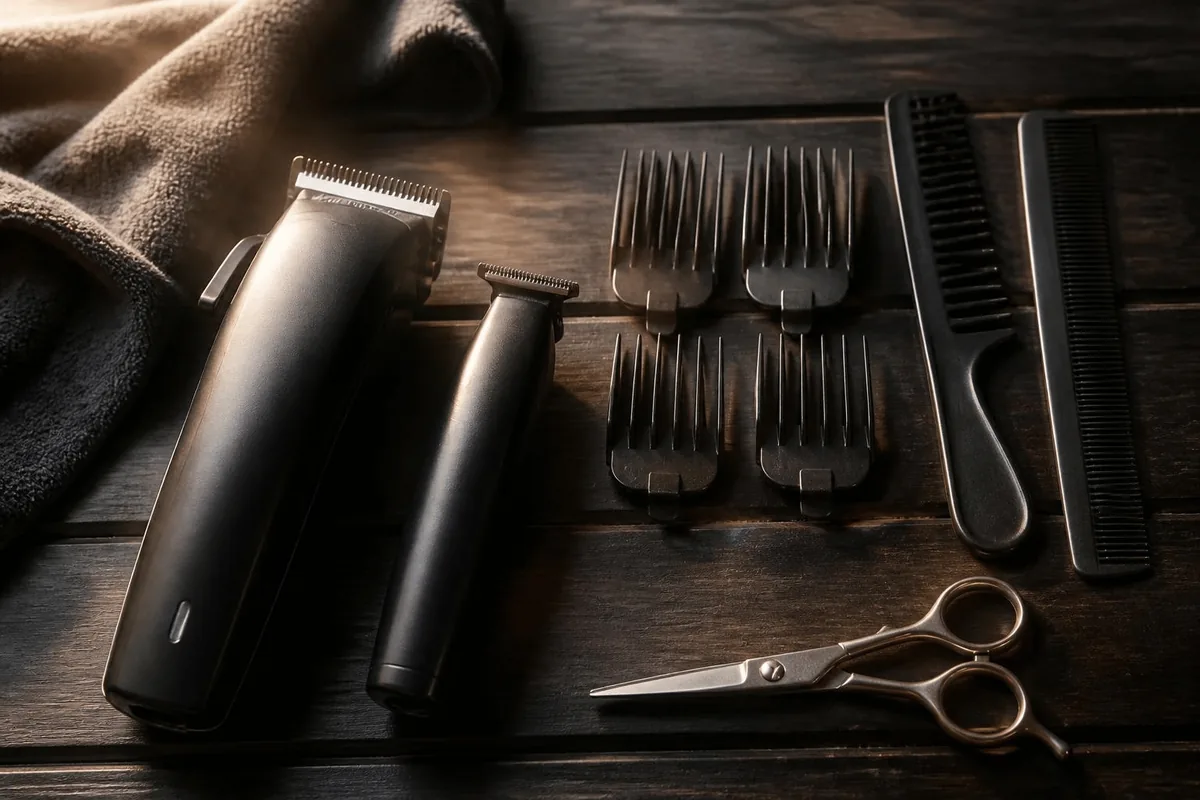
The right kit matters more than skill. A cheap, dull clipper pulls hair and leaves lines, and a short cord limits your reach. Gather everything before you start.
| Tool | What it does | Essential? |
|---|---|---|
| Hair clippers | Cut the sides and back | Yes |
| Guards #1 to #4 | Set the length: #1 is about 3 mm, #2 about 6 mm, #3 about 10 mm and #4 about 13 mm | Yes |
| Trimmer (detail) | Outlines the sideburn, ear and neckline | Yes |
| Fine-tooth comb | Lifts hair for blending | Yes |
| Hand mirror and wall mirror | Lets you see the back | Yes |
| Hair scissors | Refine the top and the join | Helpful |
| Cape or old towel | Catches hair | Yes |
| Clipper oil and brush | Keeps blades sharp and clean | Yes |
Our guide to haircut numbers lists guard sizes in millimetres, and some brands label guards differently. If you are unsure, check the size printed on the guard or in the box.
How do you prepare for a low taper fade at home?
Preparation takes ten minutes and prevents most mistakes.
- Wash and dry your hair. Clean, dry hair cuts more evenly. Product and wet hair clump and give false lengths.
- Set up a mirror system. Stand with your back to a large mirror, and hold a hand mirror in front of you so you can see the reflection of your back and sides. Good light is as important as the mirror, so use a bright bulb or window light.
- Oil and test the clippers. Put a few drops of oil on the blade, run the clipper for a few seconds and check it cuts a test patch cleanly.
- Comb the sides down and out. Combing shows how your hair falls and where the thickest areas are.
- Decide the taper height. Hold a comb flat above your ear. The taper should start 1 to 2 cm above the top of the ear. Mark the line with your finger.
- Cape up. Wear a cape or towel to catch hair, and keep a second towel on the floor.
What goes wrong: skipping the mirror setup and trying to cut by feel. You cannot judge the back of your head by touch alone. If you cannot see it, ask a friend or family member to check it.

How to cut a low taper fade at home, step by step
The method uses the guard-stack approach: you start with a longer guard and work lower in short steps, flicking the clipper away from the head to blend. Take your time with each step, and check both sides after each pass.
Step 1: Trim the top to length
Decide how much to leave on top. Lift the hair with a comb and trim it with scissors, or use a long guard such as a #4 if you want a short top. If you plan to keep the top long, skip this step and tidy the ends only. Our guides to long hair on top and the textured crop explain the options.
What goes wrong: cutting too much. Leave the top longer than you think. You can always trim again.
Step 2: Clean the sides with a #3 guard
Attach a #3 guard (about 10 mm). Starting at the sideburn, run the clipper upward in short, slow strokes as far as the taper line you marked. Move against the direction of growth. This sets a base length for the whole side.
What goes wrong: running the clipper too high. Stop at your marked line, not above it, or you will remove hair that should stay long.
Step 3: Cut the lower sides with a #2 guard
Swap to a #2 guard (about 6 mm). Start at the ear and work up, but stop about 1 cm below the line where the #3 ended. Flick the clipper out and away from the head at the end of each stroke. This flick softens the transition so no hard line forms.
What goes wrong: stopping each stroke at the same height, which creates a visible stripe. Vary the end point of each pass by a few millimetres.
Step 4: Take the lowest zone down with a #1 guard
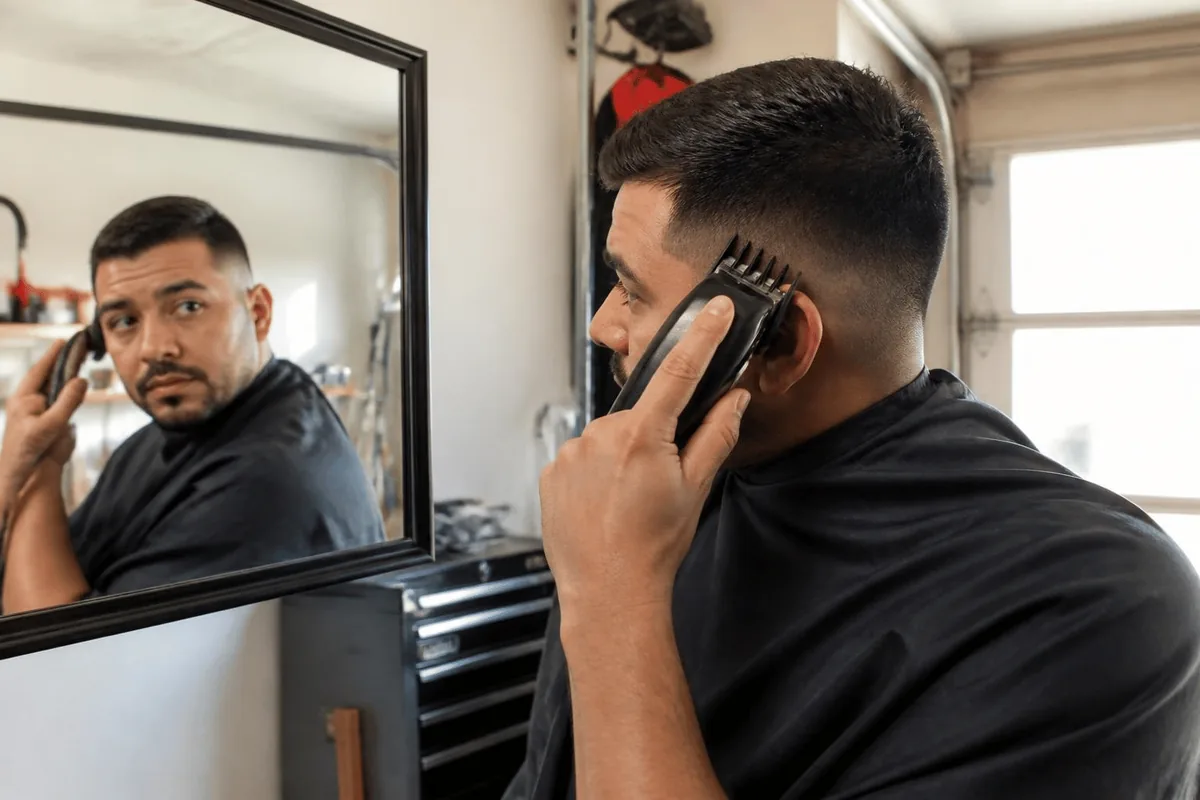
Switch to a #1 (about 3 mm). Use it only on the lowest centimetre around the ear and across the nape. Work from the bottom and flick out after 1 cm.
What goes wrong: lifting the guard too early or pressing too hard, which cuts a patch. Keep the guard flat against the head, and move at a steady pace.

Step 5: Blend with a comb
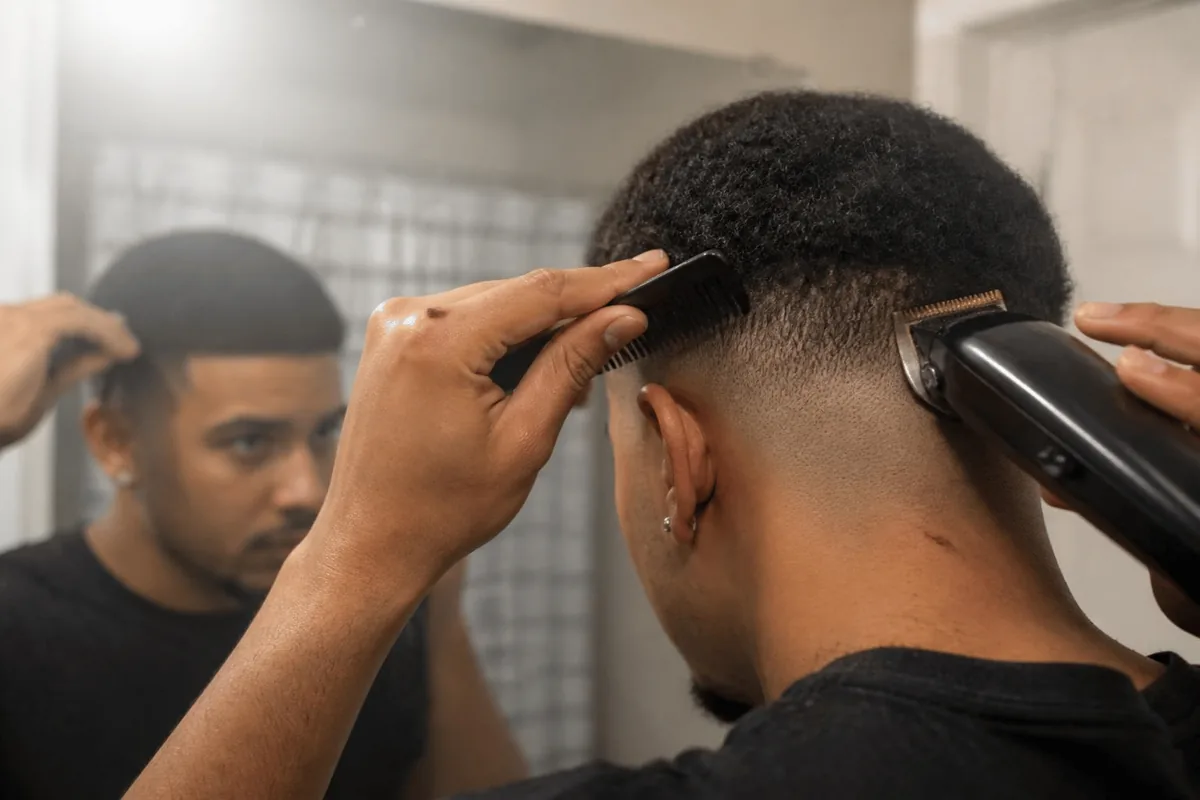
Take a fine-tooth comb and the clipper with a #2 guard. Lift the hair with the comb and run the clipper along the underside of the comb. This clipper-over-comb technique softens the join between each guard. Work from the bottom upward.
What goes wrong: a line where two guards meet. Look for it by combing the hair down and checking in good light, and fix it by running the clipper over the line again with a flicking motion.
Step 6: Outline the sideburns and ears
Switch to the trimmer (no guard). Trace the front of the ear carefully, then shape the sideburn. Hold the trimmer with the blade pointing out, and use short strokes. Keep both sideburns the same length by comparing them in the mirror.
What goes wrong: sideburns that end at different heights. Use a comb held horizontally against both ears to check.
Step 7: Shape the neckline
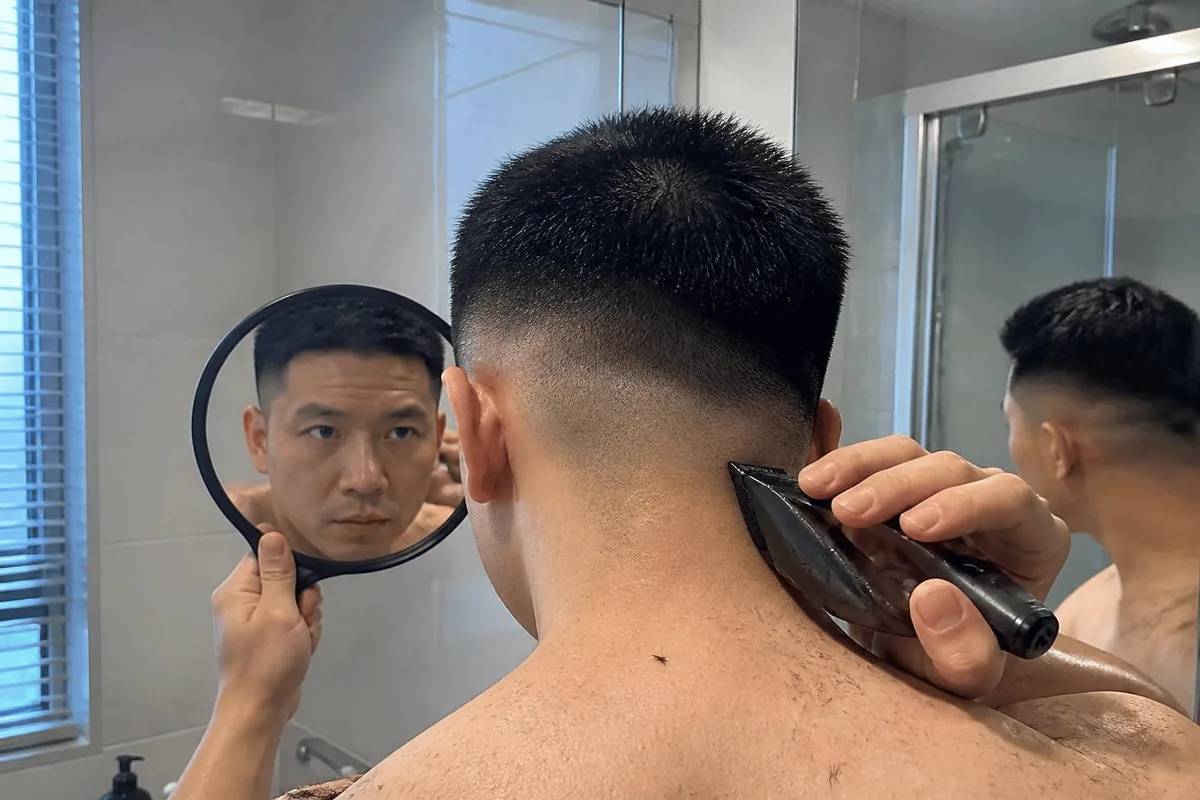
For a tapered neckline, run the clipper without a guard in short strokes up the nape for 1 to 2 cm, then flick away. For a rounded neckline, use the trimmer to follow a gentle curve. Avoid a blocked or square neckline at home, because it needs a straight line you cannot see. If you shave the neck, follow the AAD advice on preventing razor bumps: use a clean blade, shave with the grain and do not pull the skin tight.
What goes wrong: a neckline cut too high. Start low. You can raise it later, but not lower it.
Step 8: Check and tidy
Use the hand mirror to check the back and the sides. Comb all hair down, then up, and look for stray lengths. Trim loose hairs with scissors or the trimmer. Brush off loose hair, rinse with cool water and style as normal.
What does a low taper fade at home look like at each step?
The table summarises the whole cut so you can follow along with a printout.
| Step | Tool | Area | Length left |
|---|---|---|---|
| 1 | Scissors or #4 | Top | Your choice |
| 2 | #3 guard | Sides up to taper line | About 10 mm |
| 3 | #2 guard | Lower sides | About 6 mm |
| 4 | #1 guard | Last 1 cm near the ear and nape | About 3 mm |
| 5 | Clipper over comb | All joins | Blended |
| 6 | Trimmer | Sideburns and ears | Outline |
| 7 | Trimmer or clipper | Neckline | Tapered or rounded |
| 8 | Mirrors and comb | Whole head | Check |
What if a low taper fade at home looks patchy? A repair chart
Almost every home cut needs a small repair. Use the chart to decide what to do before you reach for the clippers again.
| Problem | Likely cause | Repair |
|---|---|---|
| Visible line between two guards | Strokes stopped at the same height | Clipper-over-comb along the line with the lower guard |
| One side shorter than the other | Uneven pressure or angle | Cut the longer side to match; never shorten the short side |
| Hole or bald patch | Guard lifted early or pressed hard | Wait; blend surrounding hair slightly shorter |
| Taper too high | Started above your marked line | Accept it, or raise the whole taper to match |
| Sideburns uneven | No reference line | Compare with a horizontal comb, trim the longer one |
| Rough back neckline | Cannot see the nape | Use two mirrors, or ask someone to trim it |
| Clipper pulls hair | Dull or dry blades | Oil the blades, or use a new set |
The golden rule: when in doubt, stop and wait a day. Many errors look worse under bathroom lighting than in daylight.

The three clipper techniques for a low taper fade at home
Three small movements do nearly all the work in a taper. Practise them on the back of your hand or a relaxed arm before you touch your head.
| Technique | How to do it | What it prevents |
|---|---|---|
| The flick | At the end of each upward stroke, rotate the clipper away from the scalp in one smooth motion | Hard lines at the top of each guard |
| The scoop | Follow the curve of the head with the guard flat, starting at the ear and sweeping up and back | Gouges and flat spots |
| Clipper over comb | Lift the hair with a comb, then cut along the comb teeth with the clipper | Stripes where guards meet |
The flick is the key skill. If you only practise one movement, practise this one. Start the stroke with the guard flat on the skin, move up at an even speed, and ease it away from the head at the end. A smooth flick creates the gradual change in length that defines a taper.
What goes wrong: tilting the clipper into the scalp, which makes a divot. Keep the blade parallel to the surface and let the guard do the work.
How to cut a low taper fade at home on different hair types
The steps above work for all hair, but the details change with texture and thickness.
| Hair type | Adjustment | Why |
|---|---|---|
| Straight, fine | Use a #2 or #3 at the bottom, and blend with scissors | Every line shows and the scalp is easy to expose |
| Straight, thick | Cut in thin layers, brushing hair between passes | Thick hair hides unevenness until it is cut |
| Wavy | Cut dry and leave an extra few millimetres | Waves spring up and look shorter |
| Curly or coily | Cut dry, comb out the curl first, and use a #2 at the bottom | Curls shrink; short guards flatten the shape |
| Cowlick at the nape | Cut with the direction of growth for that area | Against-the-grain strokes leave uneven patches |
If you have curly hair, the cut-by-dry-shape approach described in our curly hair guide applies to the top. The taper itself works the same way.
Is it cheaper to cut a low taper fade at home?
It depends on how long you keep doing it. A good set of clippers, guards, a trimmer and mirrors is a one-off cost, and prices vary by brand. A barber visit is a recurring cost, and prices vary by city and shop. Over a year of cuts every four weeks, a home setup often pays for itself, but it asks for your time and carries the risk of an occasional bad result.
| Factor | Home | Barber |
|---|---|---|
| Upfront cost | Clippers, guards, trimmer, mirrors | None |
| Cost per cut | Very low | Shop price plus tip |
| Time | 20 to 60 minutes | Travel plus 30 to 45 minutes |
| Skill needed | Moderate; improves with practice | None |
| Risk of a bad result | Higher at first | Lower, with a good barber |
| Best for | Maintenance between visits | Major changes and events |
A common compromise is to visit a barber every second or third cut and maintain the shape yourself in between. That way a professional resets the lines and you handle the quick tidy-ups.
What safety and hygiene steps matter for a low taper fade at home?
Clippers are low-risk tools, but a few habits prevent cuts, irritation and infection.
- Keep the cord clear. A tangled cord pulls the clipper off course. Use a cordless model, or loop the cord over your shoulder.
- Never use clippers near water. Dry the area and the tool first.
- Do not share trimmers or blades. Shared tools can spread skin conditions.
- Keep blades clean and oiled. Dirty blades irritate skin and pull hair.
- Moisturise afterwards. A light, unscented balm calms freshly trimmed skin around the neckline and ears.
- Watch for bumps. If bumps persist, stop shaving the area and ask a doctor.
The neckline and sideburn areas have the most sensitive skin. If you get irritation after each cut, go back to a natural or rounded neckline and trim rather than shave.
How long does a low taper fade at home take?
Your first attempt may take 45 to 60 minutes, including setup and cleanup. With practice, it drops to 20 to 30 minutes. The cut itself is shorter than most men expect. Most time goes on checking in the mirror.
| Experience | Total time | Biggest time sink |
|---|---|---|
| First attempt | 45 to 60 minutes | Mirror setup and checking |
| After 3 to 5 cuts | 30 to 40 minutes | Blending |
| Experienced | 20 to 30 minutes | Neckline |
These are estimates. Speed matters less than accuracy, so take whatever time you need.
How do you keep a low taper fade at home tidy between cuts?
A home taper needs a light touch every 2 to 3 weeks, and a fuller cut every 4 to 5 weeks. According to the Cleveland Clinic, hair grows about 1 centimetre a month, which is why a taper softens in about a month.
- Week 2: trim the neckline and sideburns with the detail trimmer.
- Week 4: repeat the whole process, starting with a #3 guard.
- Every 3 to 4 cuts: visit a barber for a reset, particularly if the shape has drifted.
Our guide on how often to get a haircut compares schedules for other cuts.

How do you look after clippers and trimmers?
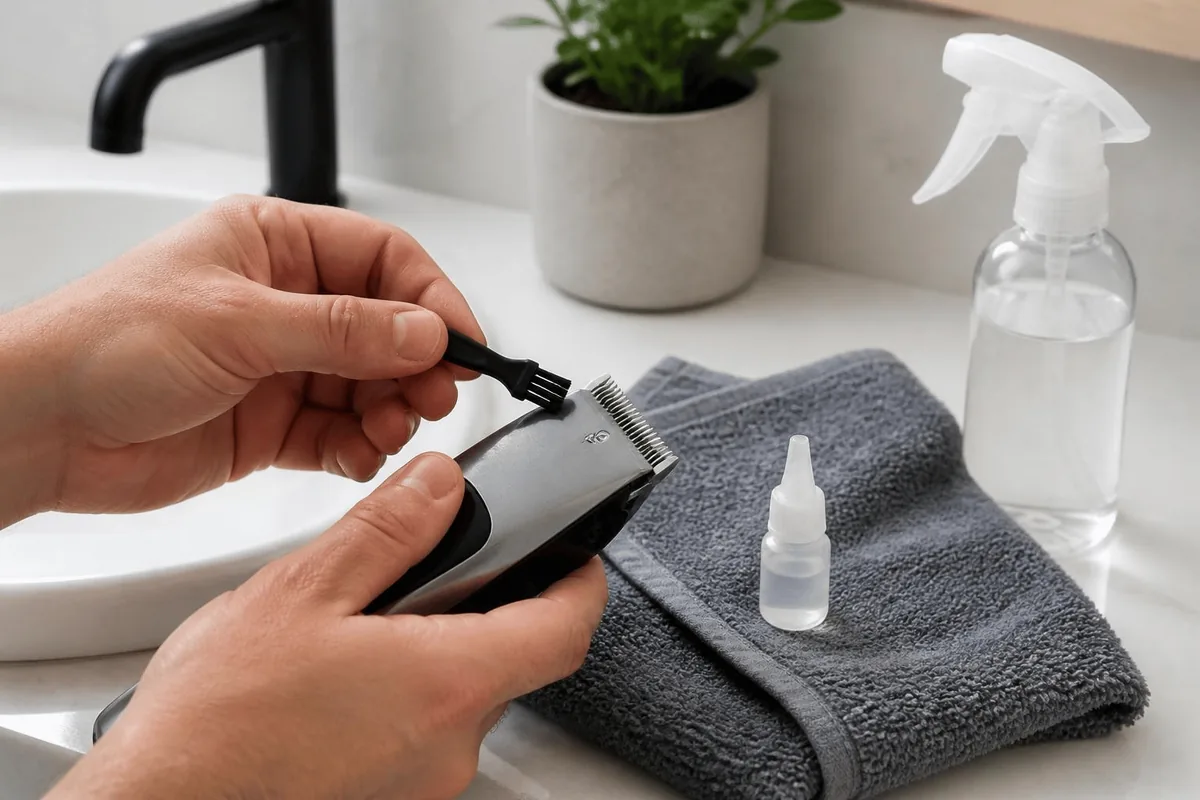
Clean blades cut cleanly and last longer. A two-minute routine after every cut protects your investment.
- Brush off hair. Use the small brush that comes with the clippers.
- Remove the blade if the model allows it. Check the manual first.
- Wipe with a dry cloth. Avoid water on the motor.
- Apply two or three drops of clipper oil. Run the clipper for a few seconds to spread it.
- Store dry. Keep guards in a labelled bag so you do not mix up the sizes.
Replace the blades when they start pulling hair or no longer cut straight.
Common mistakes with a low taper fade at home
- Starting too short. Always begin with a longer guard than you think you need.
- Rushing the blend. The join is where most cuts succeed or fail.
- Using the wrong guard. Check the number on the guard before you cut.
- Cutting wet hair. Wet hair looks longer and cuts unevenly.
- Cutting the neckline too high. Start low and raise it only if needed.
- Skipping the mirror check. The back is the area people notice most.
Frequently asked questions
Can I cut a low taper fade at home?
Yes. It is one of the easiest fades to try at home, because it removes little hair and any mistake grows out quickly.
What guard numbers do I need for a low taper fade at home?
A #3, #2 and #1 cover most low tapers. These leave about 10 mm, 6 mm and 3 mm of hair.
How do I see the back of my head?
Stand with your back to a large mirror and hold a hand mirror in front of you. Good lighting helps. If you can, ask someone to check the back.
Why do I get lines in my fade?
Lines appear when each pass stops at the same height. Flick the clipper away from your head at the end of each stroke and use clipper-over-comb to blend.
How high should a low taper start?
About 1 to 2 cm above the top of the ear. Starting higher turns it into a different cut, such as a low fade.
Is it safe to shave my own neckline?
It is safe with care. Use a clean, sharp blade, shave with the grain and moisturise afterwards to reduce irritation.
When should I go to a barber instead?
For important events, for skin-level or high-contrast fades, and whenever the shape has drifted. A barber also resets the cut after several home cuts.
More in this series
This is one of five cluster guides under the low taper fade pillar. The others cover curly hair, straight and fine hair, part lines and designs and long hair on top. The full range sits on our fade haircuts hub.
The guard sizes, timings and heights above are typical values and vary by clipper brand and by head; growth follows the Cleveland Clinic. Our editorial policy explains how we label estimates.